

How To Connect Wordpress Blog To Godaddy
Themeisle content is free. When you purchase through referral links on our site, we earn a commission. Learn More
Trying to move your website from GoDaddy Website Builder to WordPress?
There's no automated tool to help you migrate your site. However, with the steps that we show you in this post, you'll be able to move all of your content from GoDaddy Website Builder to WordPress – it will just take a little manual effort on your part.
By following this tutorial, you'll be able to migrate…
- All of your blog posts
- All of your web pages
- All of your images
- The URL structure of your GoDaddy Website Builder site
What you need to follow this tutorial
Before you can start this tutorial, you need to have a blank WordPress site ready to go – this is where you'll move all of your GoDaddy Website Builder content.
If you already have a WordPress website, wonderful!
Otherwise, you'll need to:
- Choose WordPress hosting. We recommend Bluehost, but you can also find some other great cheap options. You can also use GoDaddy WordPress hosting if you're otherwise happy with GoDaddy's service.
- Install the WordPress software on your hosting.
We also have an entire guide on how to install WordPress on Bluehost, our recommended WordPress host.
Once you have your empty WordPress site ready, you can start migrating your content from GoDaddy.
How to migrate GoDaddy Website Builder to WordPress
The basic process to move GoDaddy Website Builder to WordPress is to:
- Download all of your content GoDaddy. We'll share a free tool that helps speed up the process, but you basically need to do this manually.
- Manually add your GoDaddy content to WordPress.
GoDaddy doesn't offer an export feature for any elements on your website, which is why you need to do it manually. It's one of the reasons GoDaddy isn't the greatest place to build a website.
Similarly, WordPress provides import tools for platforms like Blogger and Tumblr, but there's nothing for GoDaddy. Again, this is why you have to do it manually.
1. Download all site files (including blog posts, web pages, and some images)
There's good news and bad news about exporting from GoDaddy. The bad news is that exporting is all done with third-party tools and your own manual labor.
The good news is that you can download almost all of your site elements in one step.
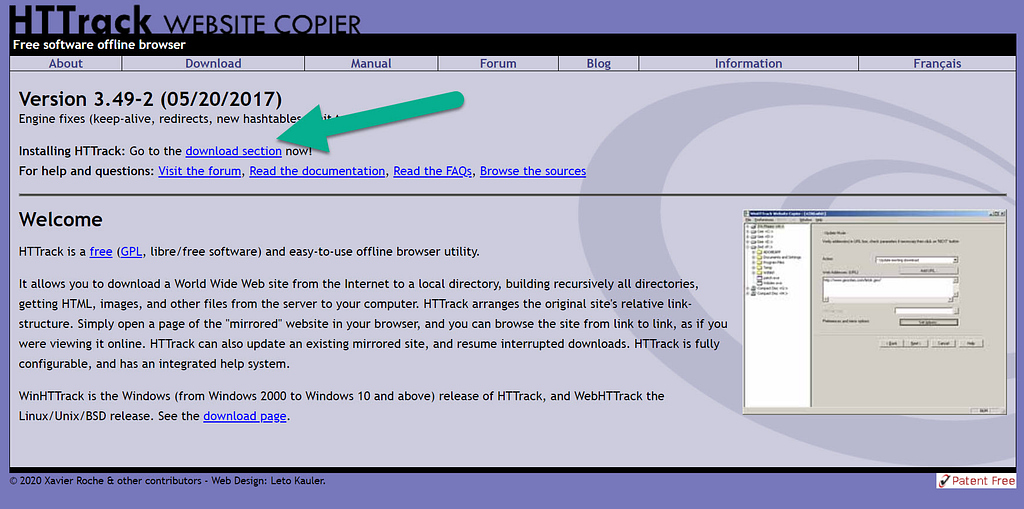
The quickest option for this is to install a tool called HTTrack. It allows you to download an entire website and make local directories for that site on your own computer.
Go to the HTTrack website and click on the Download section link.
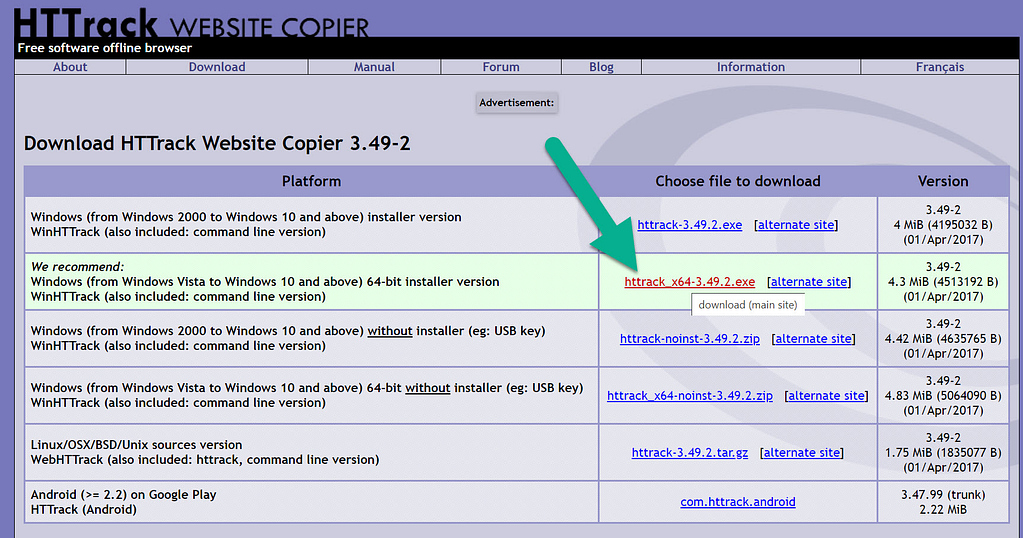
Choose the download link that's recommended by HTTrack.
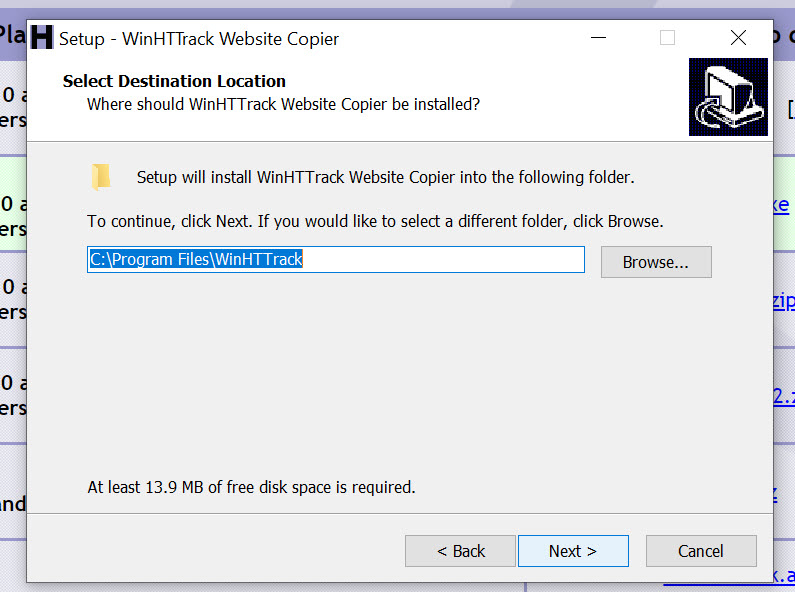
Go through the installation steps for HTTrack:
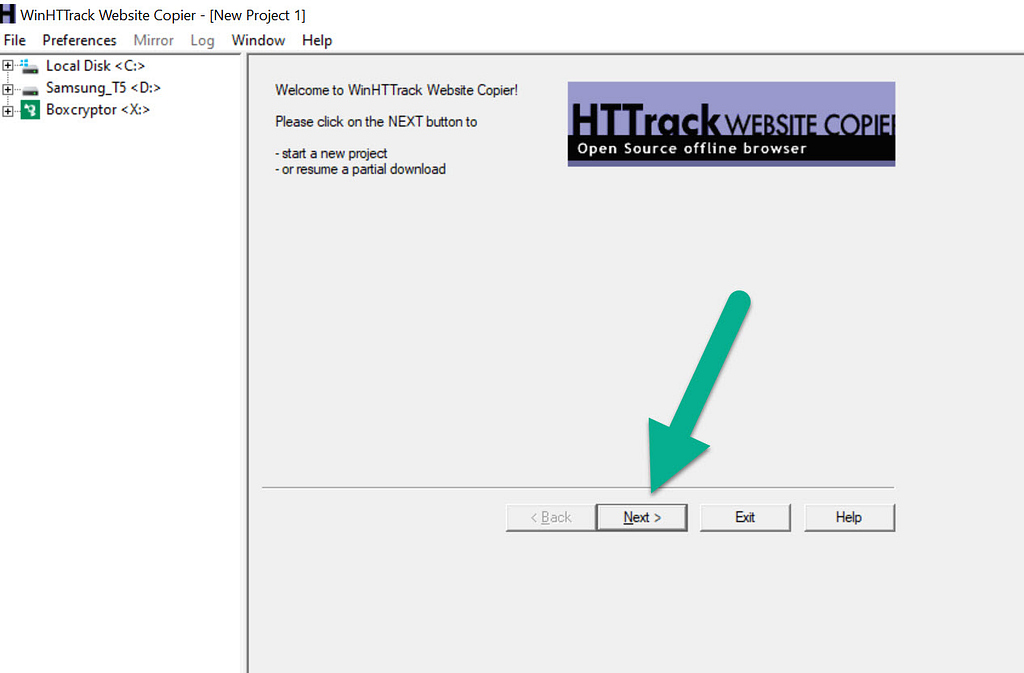
After the installation, open HTTrack. Select the Next button to begin downloading your GoDaddy website's content.
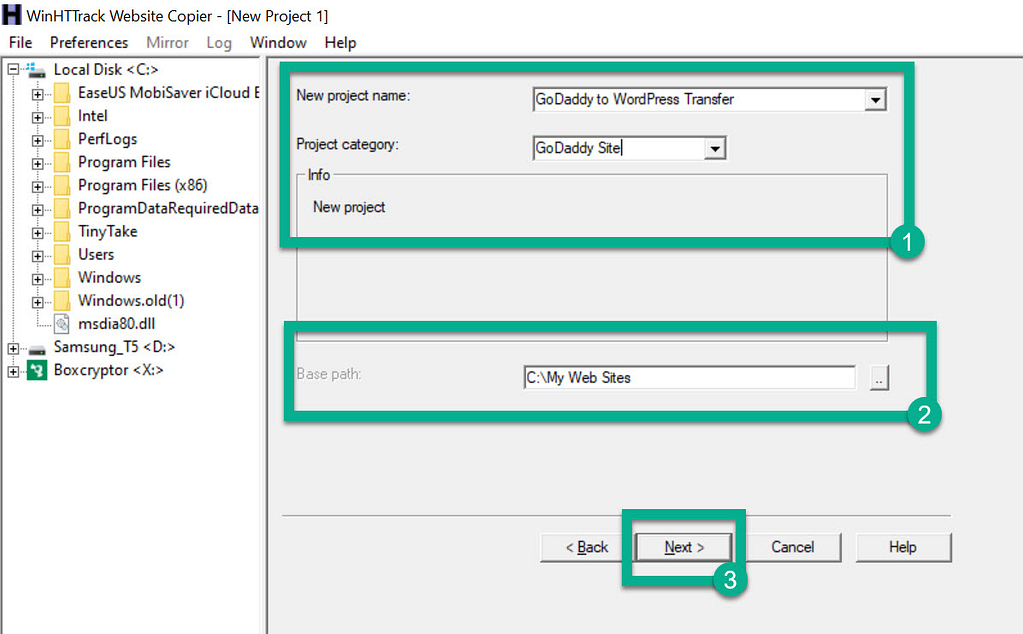
The next page lets you name your project name and project category. You can also select the local folder you'd like to save the website on. These are all for your own reference. Call it what you want and pick a local file that you'll remember.
Click the Next button to move on.
In the next module:
- Make sure the Action drop-down is set to Download web site(s).
- Paste your GoDaddy website URL into the Web Addresses (URL) field.
Click the Next button.

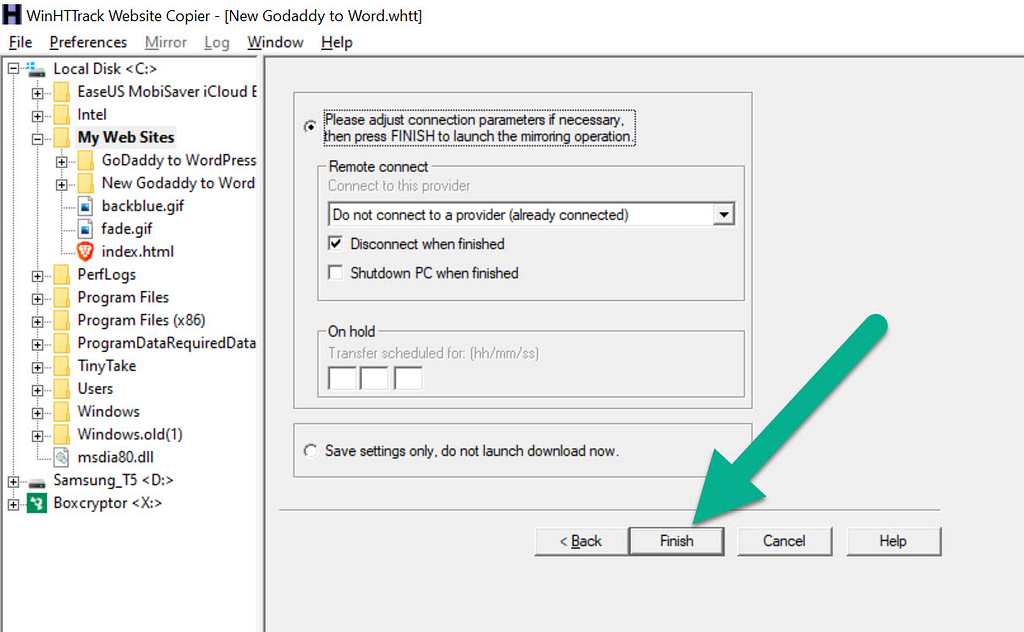
You can leave all of the settings on the next page as the defaults. Then, click on the Finish button to start downloading your GoDaddy website.
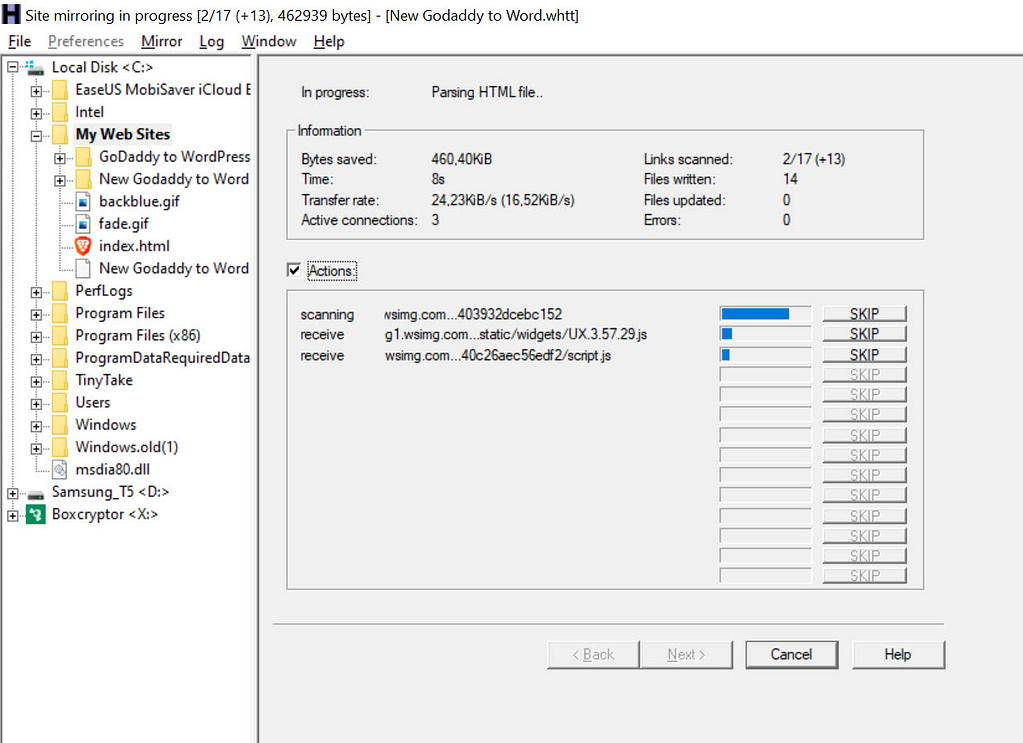
You should now see HTTrack going to work. This process usually only takes a few minutes. It could take longer or shorter depending on the size of your website.
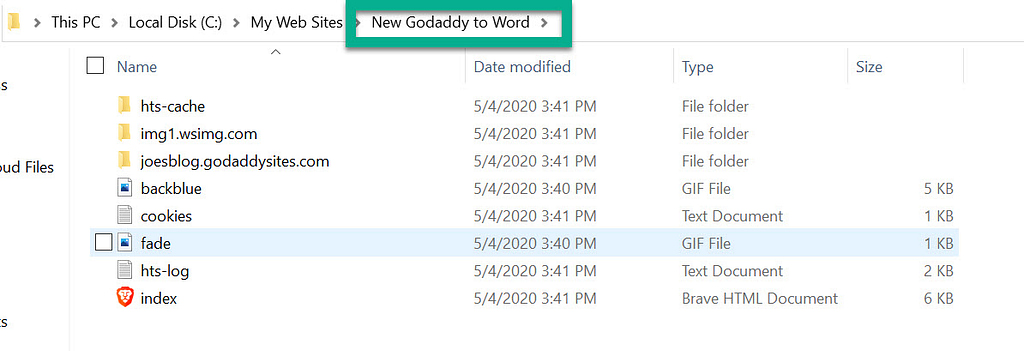
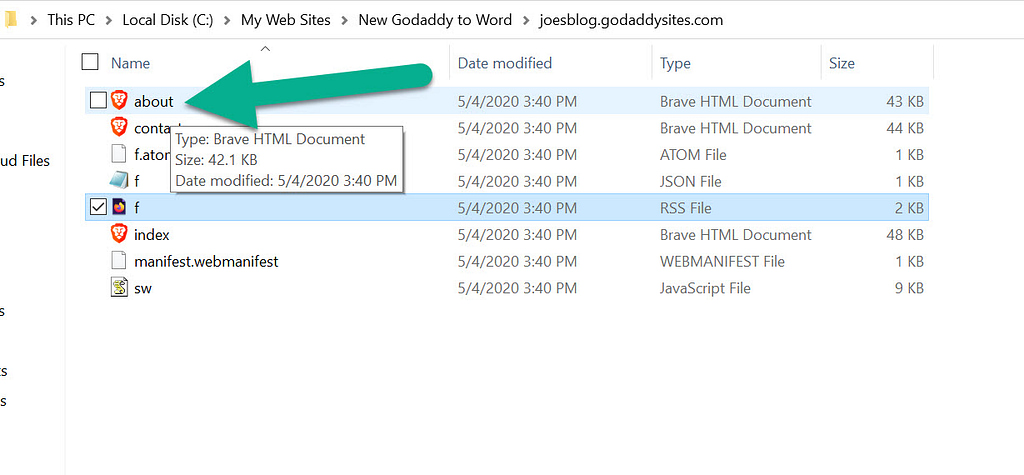
After it's done, you'll see the file location on the left side.
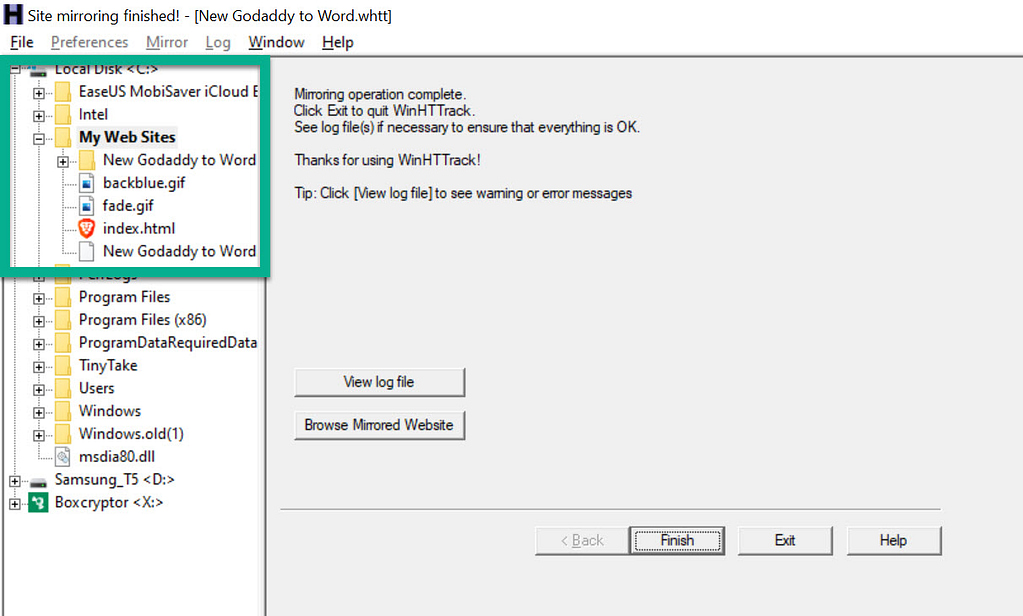
Feel free to go to this file on your computer to locate your site files. Write down the file location or commit it to memory for later.
The one downside to this method is that many of your images won't get downloaded to your computer. With GoDaddy, there's no fix for this situation. You'll have to download all images separately. We'll show you how to do this in one of the following steps.
An alternative method for GoDaddy site files
If you have a smaller website with just a few pages and blog posts, you may find it easier to download the web page files individually instead of using the HTTrack method from the previous section.
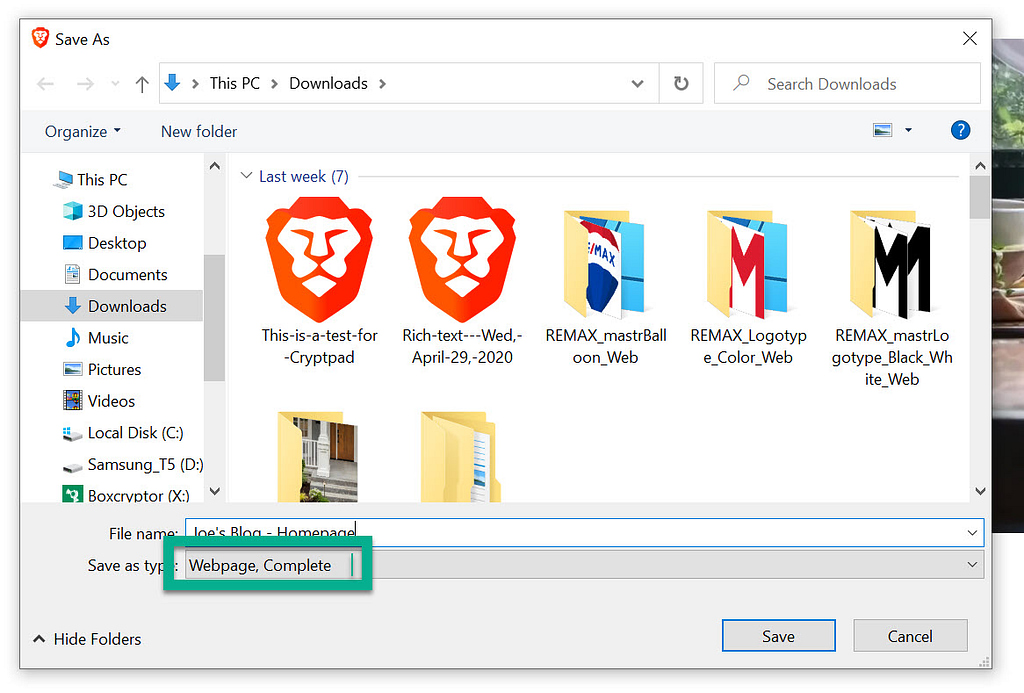
To do so, go to a page you'd like to save. Right-click anywhere and select Save As.
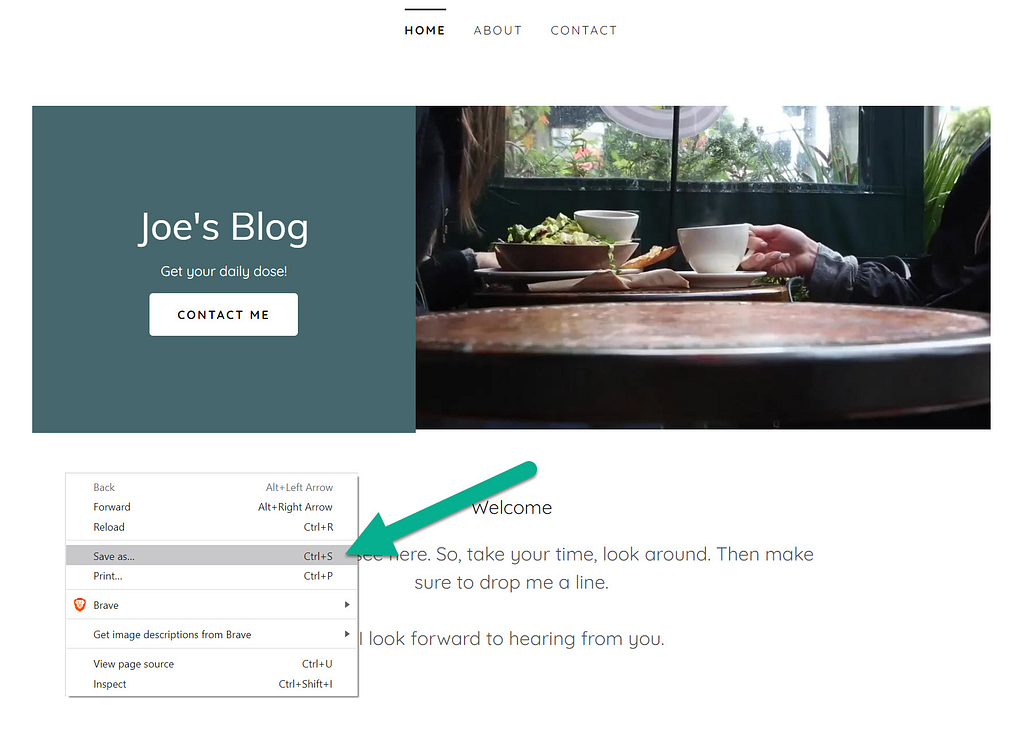
Ensure that you're saving the page as a "Webpage, Complete" file. This typically does a better job with saving images, but it only downloads the files for one web page.
You'll have to repeat this task for every page you want on your new site.
2. Save GoDaddy Website Builder images
If you used the HTTrack method above, the tool won't be able to save most of your site's images.
You have two options for saving image files to your computer for later transfer.
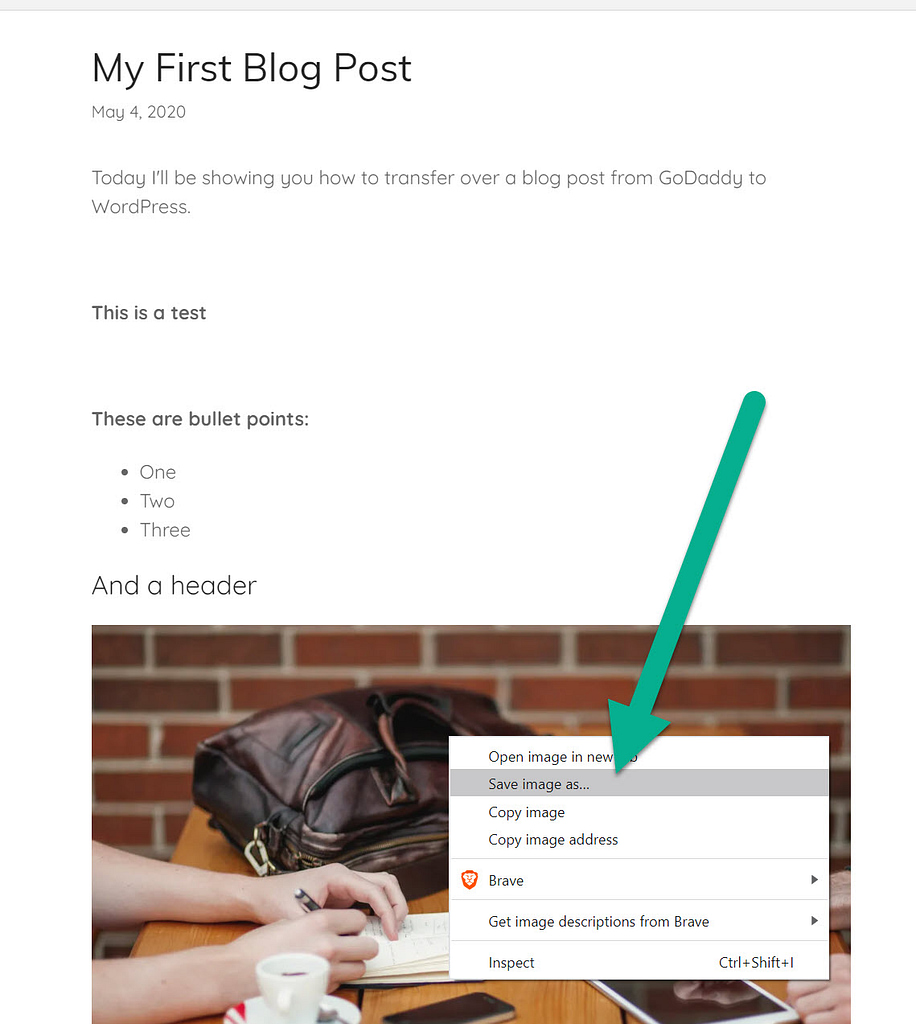
The first method is by going to each image individually on the frontend of your website:
- Right-click on an image
- Select Save Image As
- Choose a location and file name on your computer
For this method, it's best to save all site photos in one folder.
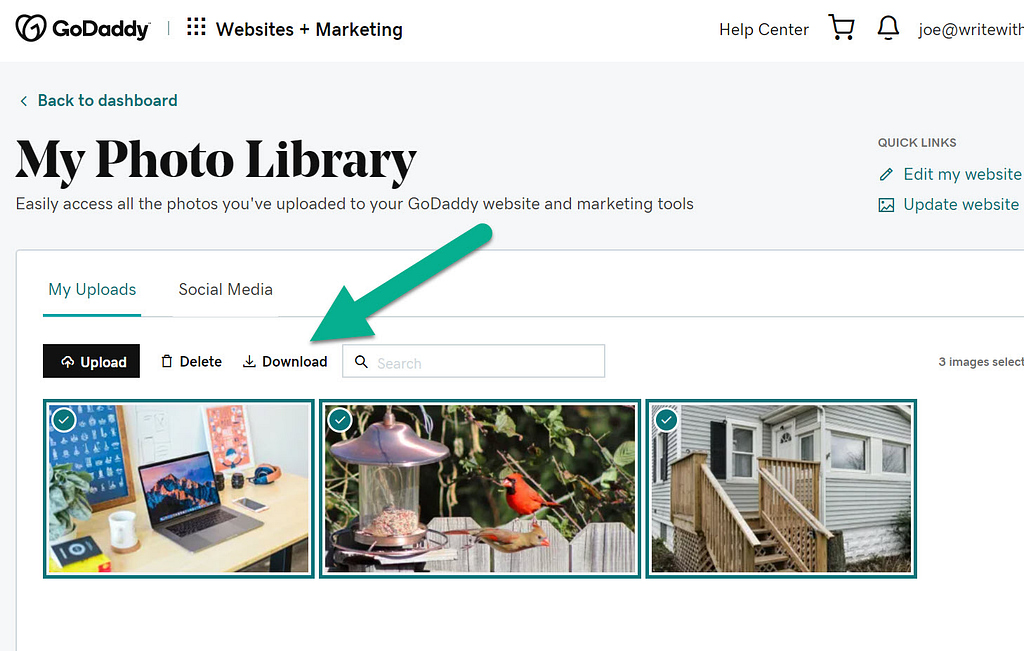
Another option is to download all of your images from your GoDaddy Photo Library.
To download all images on your GoDaddy site, go to Dashboard → My Photos.
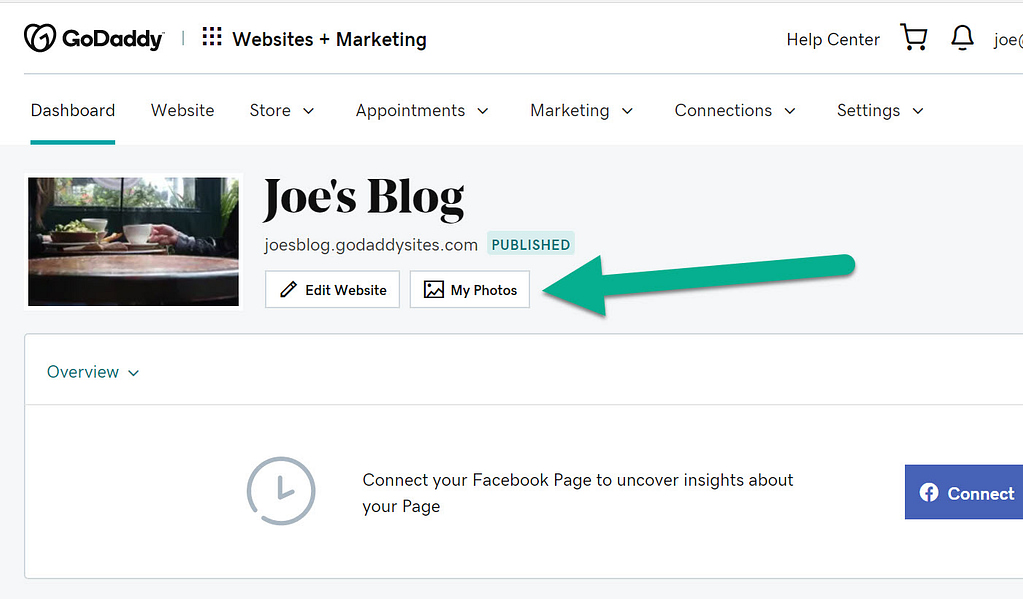
Select all images in the Photo Library. Then, click the Download button to send them to your computer.
One roadblock with your images
During my testing, I noticed that stock images don't get saved to the GoDaddy Photo Library. This could present a huge problem if you consistently utilize the stock photo library from GoDaddy.
In this case, we recommend combining both photo download methods covered above. Start by downloading all photos in your Photo Library. Then, browse your website to download images that might have been pulled from the stock library.
3. Import content from GoDaddy Website Builder to WordPress
Similar to how GoDaddy doesn't have any export options, WordPress lacks a GoDaddy import tool.
Because of this, you must manually create new WordPress pages and posts, then paste your GoDaddy content into the new WordPress pages and posts.
Here's how to do it…
How to add blog posts
To add a GoDaddy blog post to WordPress, click on Posts → Add New in your WordPress dashboard.

Find the blog post file on your computer. You saved this before using one of two methods–as an individual site file or through HTTrack.
Copy the code.
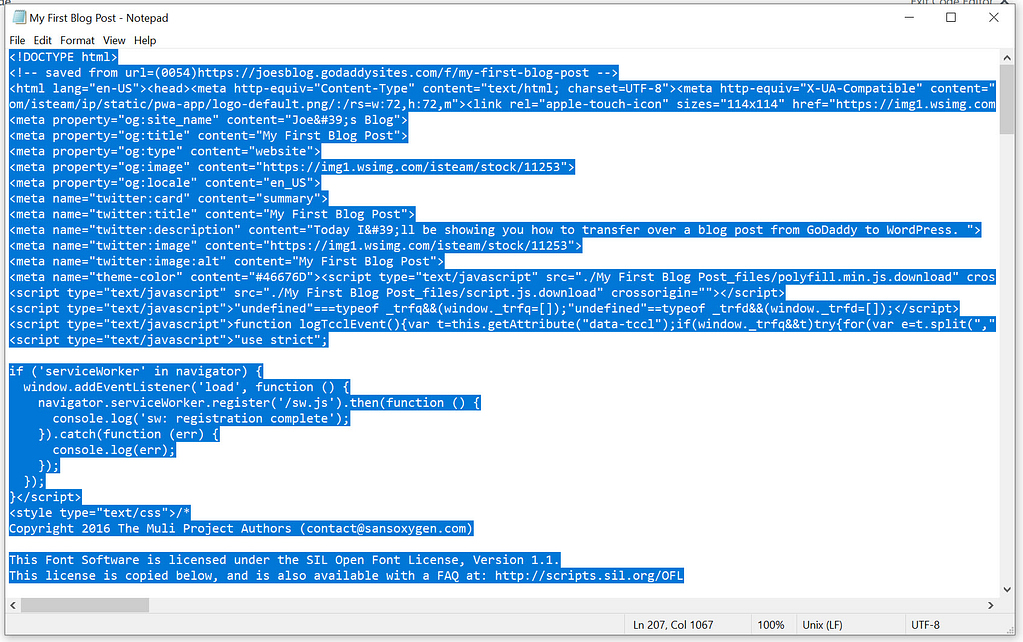
In the WordPress post editor, switch the view to Code Editor by clicking on the three dots in the top-right corner.

Paste the code from GoDaddy into the WordPress Code Editor.
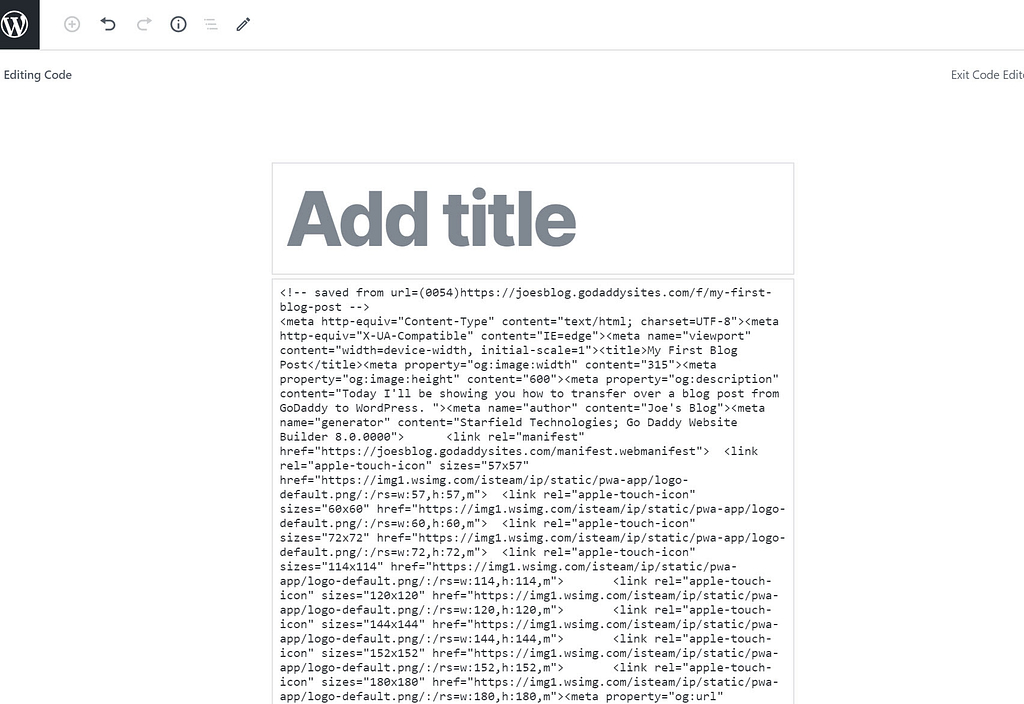
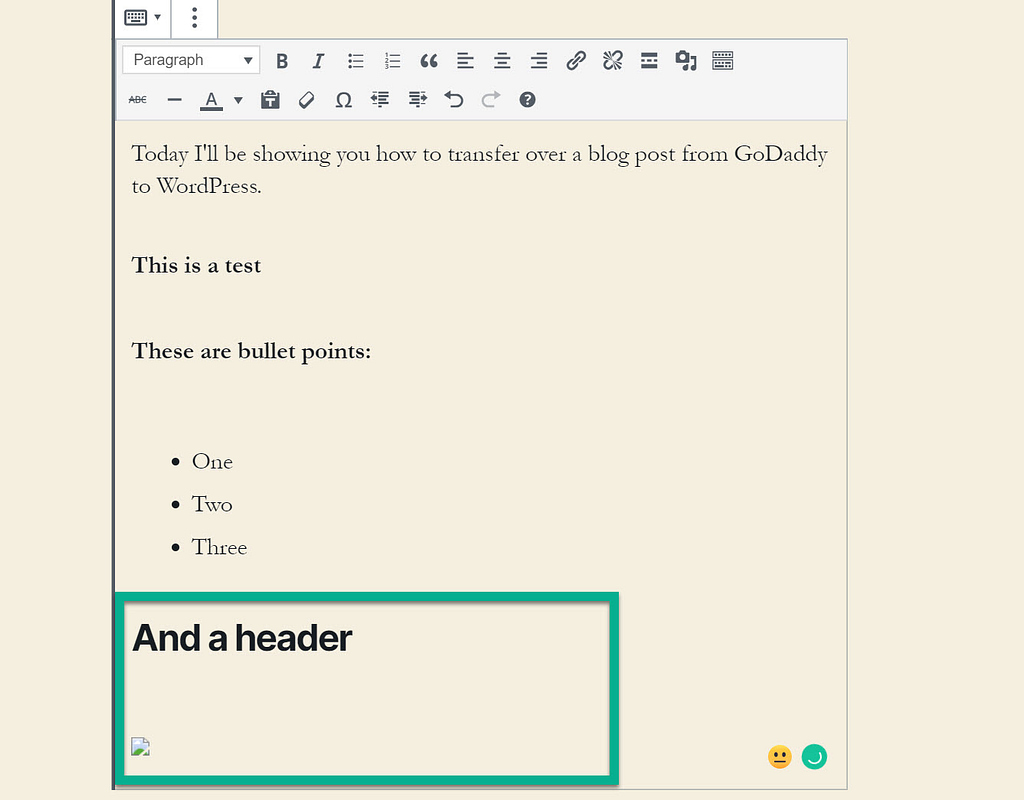
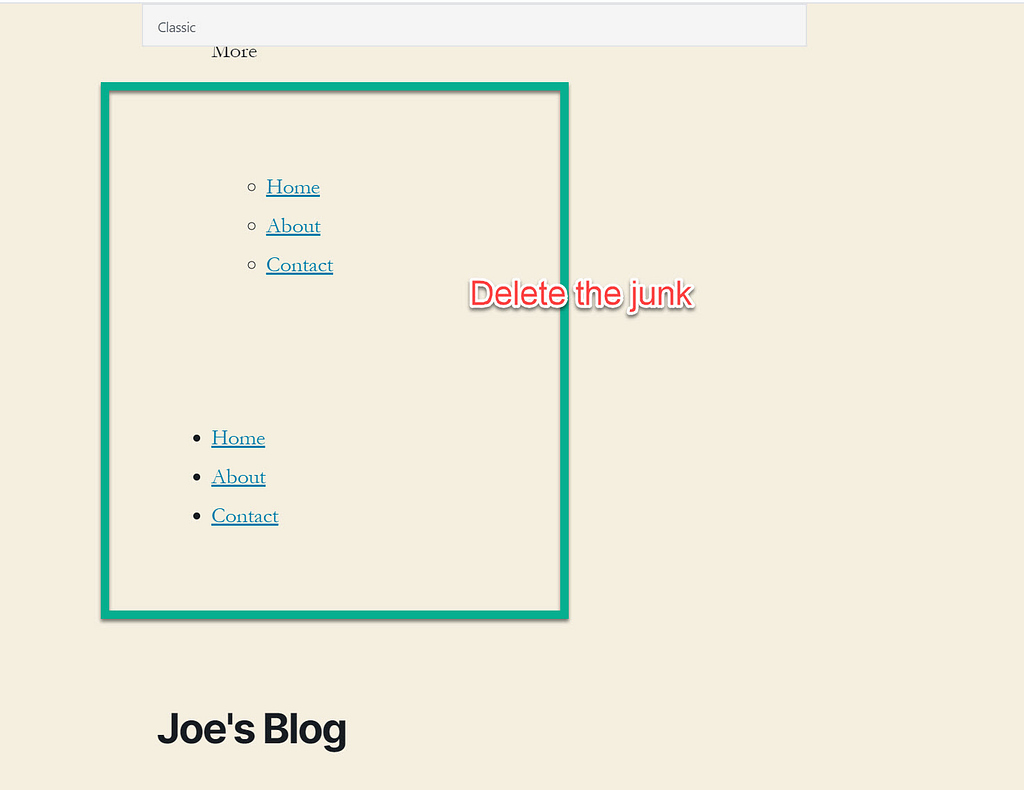
Then, switch back to the Visual Editor. In addition to your blog post, you'll probably see a lot of additional junk from GoDaddy. Delete anything that's not part of the blog post.
Leave everything that was from the original blog post.
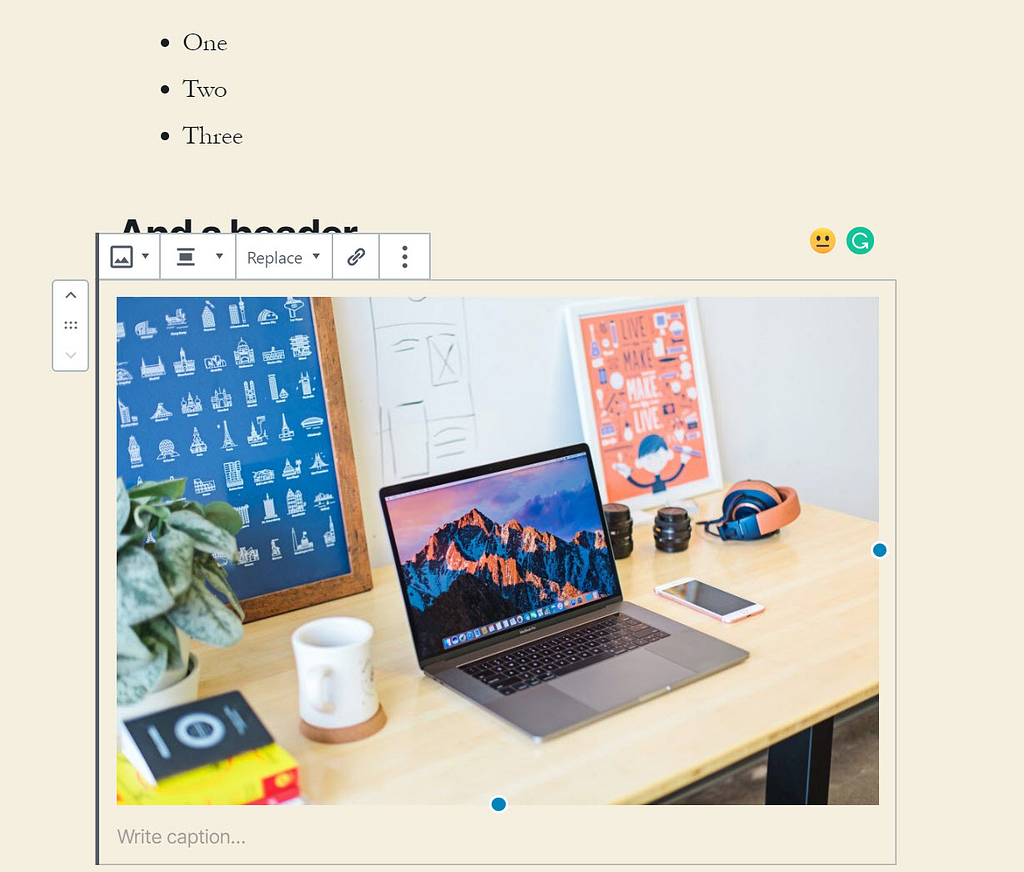
As you can see, the images weren't transferred over. This is common for GoDaddy migrations.
Use WordPress to individually upload the photos you downloaded from GoDaddy in the previous steps.
A way to speed this up is to upload all of the images to WordPress first, then go through to insert them into the right places.
Finally, make sure to change the URL of your WordPress blog post to match the URL of the blog post on GoDaddy. You can edit the URL in the Permalink section of the editor sidebar.
For example, if your blog post on GoDaddy Website Builder was:
https://yoursite.com/my-blog-post
Then you would set the WordPress URL slug equal to my-blog-post.
Learn more about configuring WordPress URLs.
How to add pages
Pages are similar to blog posts.
Go to Pages → Add New to add a new page on WordPress.
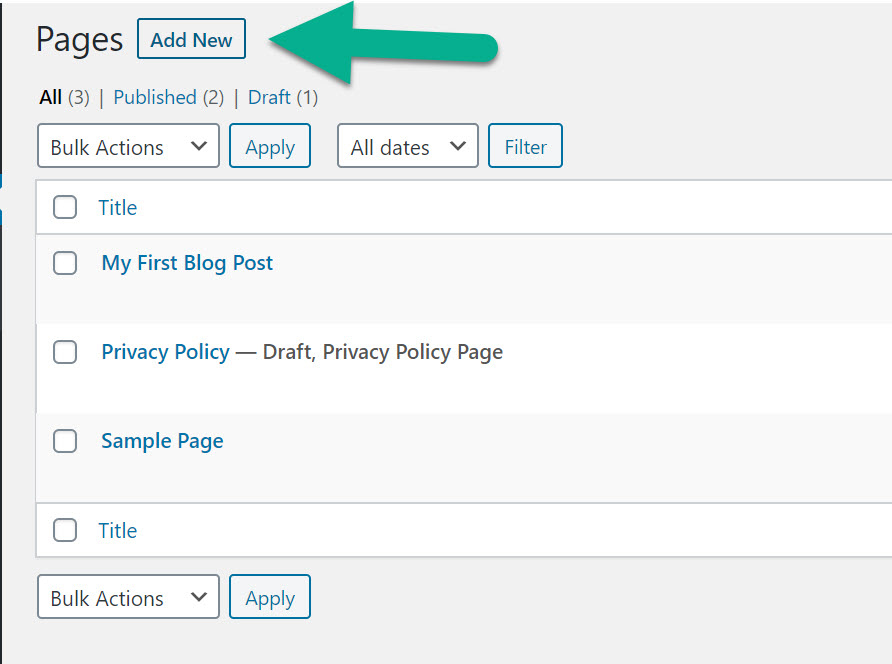
Switch to the Code Editor.

For this one, I'm moving over my About Us page. In the HTTrack files I downloaded, there's an About file.
Open that file and copy the code.
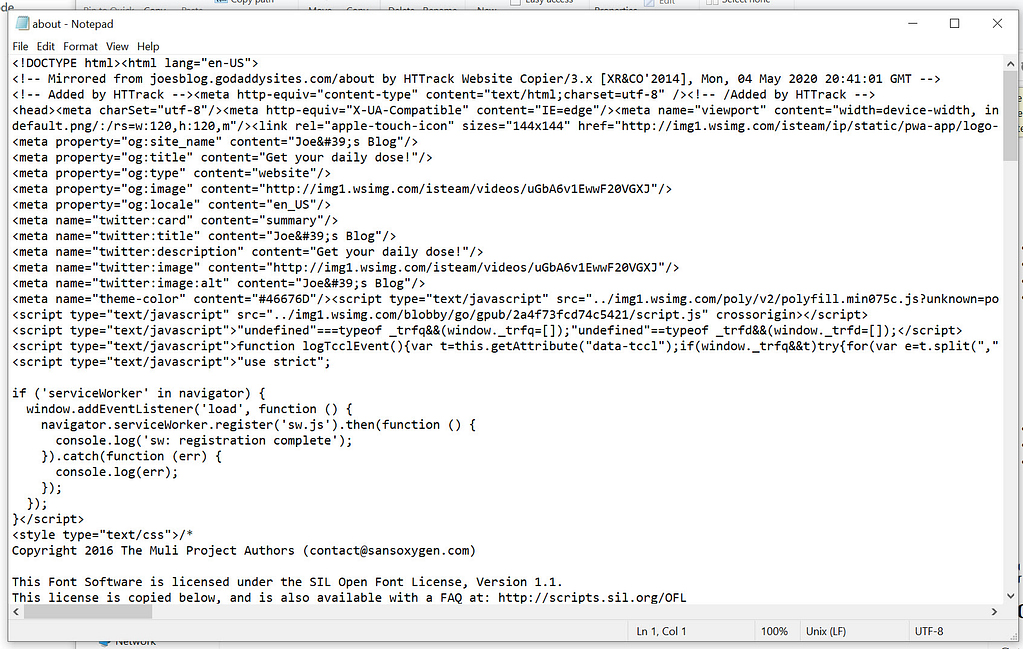
After pasting the code into the WordPress Code Editor, switch to the Visual Editor.

Get rid of any junk content that doesn't look good.
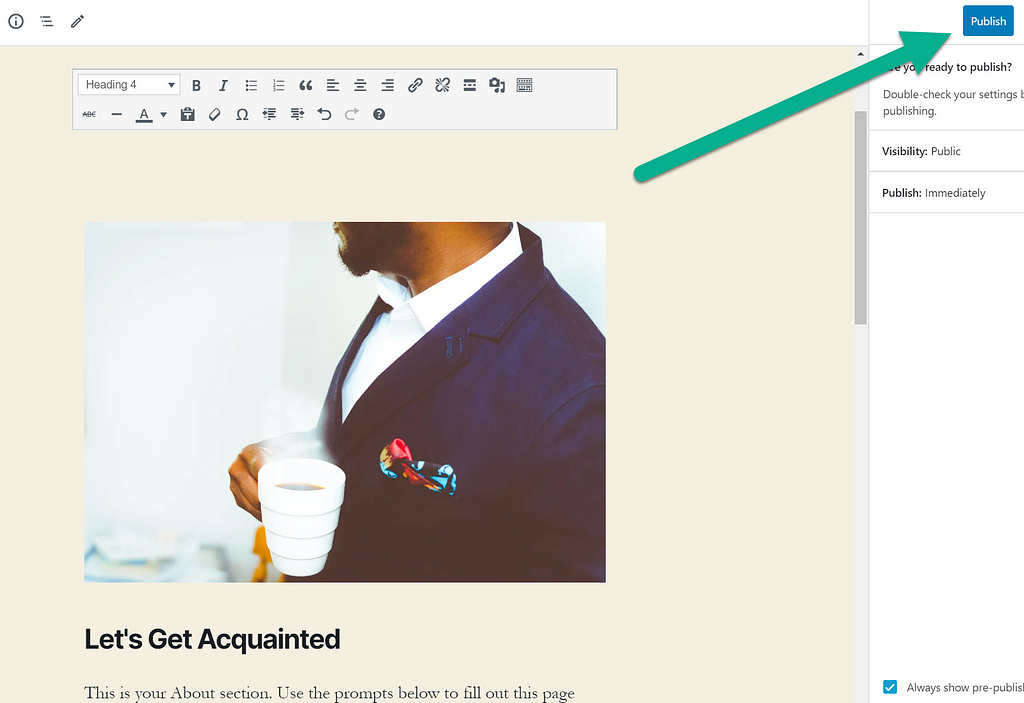
Be sure to Publish all these pages and posts to make them live.
Make sure to also set the permalink for your page to match its location on your GoDaddy Website Builder site.
4. Delete GoDaddy Website Builder site and point your domain to WordPress
For this, we're assuming you have your domain and hosting services from GoDaddy (or at least the domain).
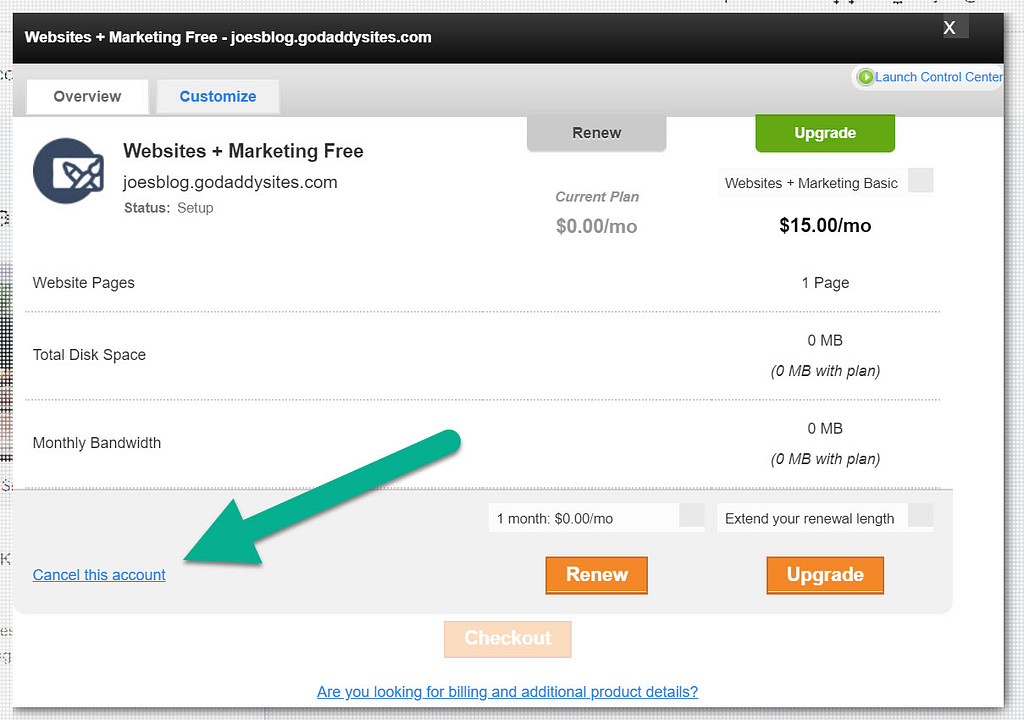
You need to delete your Website Builder site, but use the domain for WordPress.
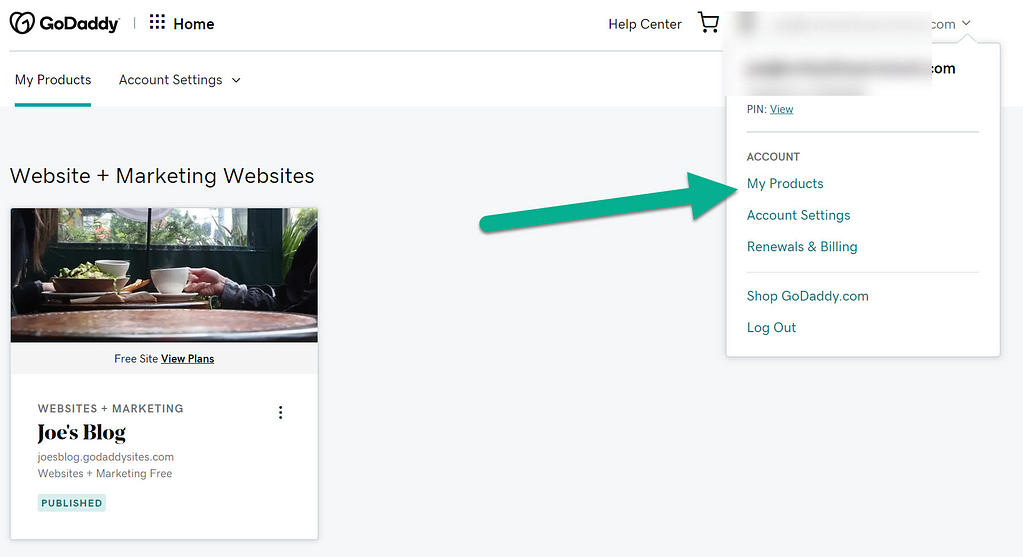
Go to the My Products link under your account tab.
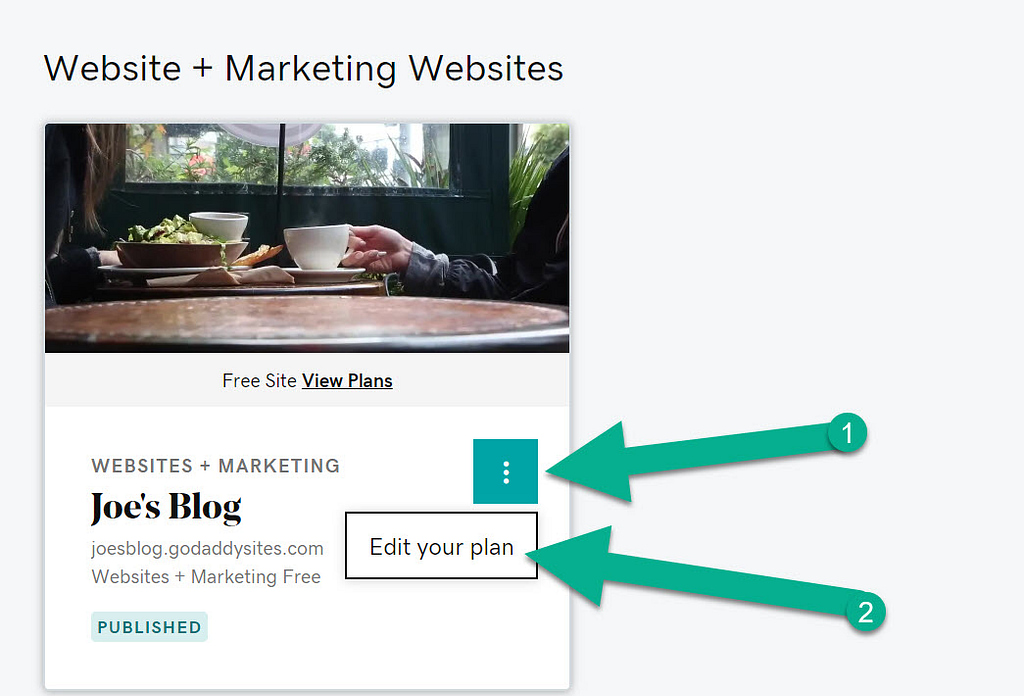
Find the website in question. Choose the three-dotted settings button. Select Edit Your Plan.
Click the Cancel This Account link.
Point your domain name to your WordPress site
To finish things out, you need to point your domain name to your WordPress site's hosting.
You can do this by editing your domain's nameservers to point towards the nameservers for your WordPress site's host (you can get these from your WordPress host's support if you're not sure how to find them).
If you purchased your domain name through GoDaddy, you can follow this help article to change your nameservers.
The finishing touches for moving GoDaddy Website Builder to WordPress
Here are some additional measures to take to get your new site as close to the old one:
- Find a theme – You're never going to make an exact duplicate of a GoDaddy site, but browsing through ThemeIsle, and completing a Google search for themes, will help you find a WordPress theme that matches your original brand. How to install a theme.
- Set your menu – Go to Appearance → Menus in WordPress to manually duplicate the navigation menu from your GoDaddy Website Builder site.
- Set a static homepage – By default, WordPress has a blog feed as a homepage. Go to Settings → Reading to choose the static homepage fro your GoDaddy Website Builder site (you should have imported this in the previous steps).
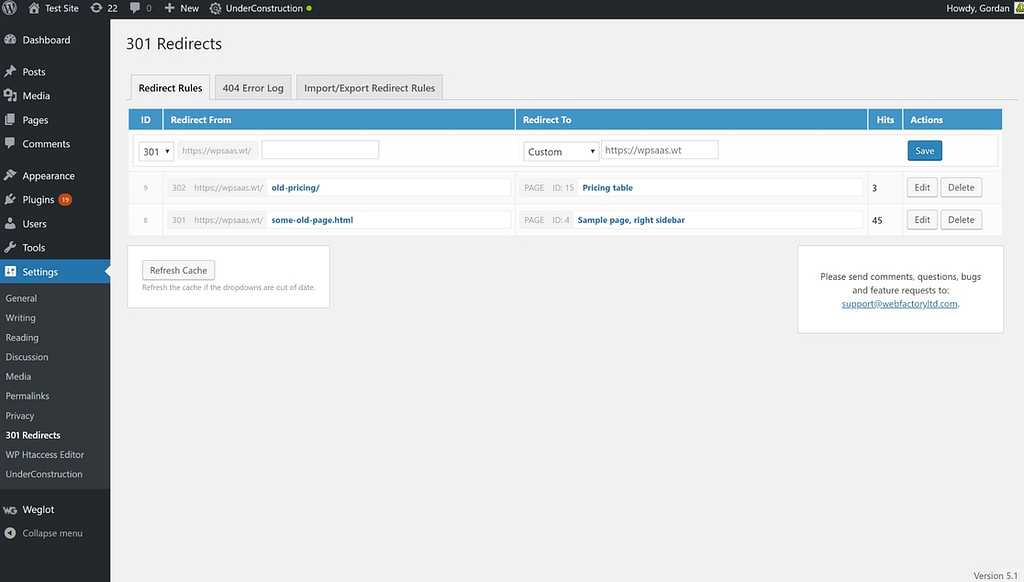
- Redirect old links – if you use different URLs on your WordPress site, you can install the 301 Redirects plugin to ensure your old URLs are all sent to an existing webpage on the new site. Learn how redirects work.
Next steps
If you want to design your website with a visual drag-and-drop editor, you might also want a page builder plugin.
You'll also want to learn about important WordPress settings and how to use the theme Customizer to manage your theme's settings.
From there, we have some broader guides that can help you take your site even further:
- How to make money from your site
- How to get more traffic
- How to improve your WordPress site's security
Still have any questions about how to move from GoDaddy Website Builder to WordPress? Ask us in the comments!
Free guide
5 Essential Tips to Speed Up
Your WordPress Site
Reduce your loading time by even 50-80%
just by following simple tips.
Download free guide
* This post contains affiliate links, which means that if you click on one of the product links and then purchase the product, we'll receive a commission. No worries though, you'll still pay the standard amount so there's no cost on your part.
How To Connect Wordpress Blog To Godaddy
Source: https://themeisle.com/blog/move-godaddy-website-builder-to-wordpress/
Posted by: petersacal1959.blogspot.com
0 Response to "How To Connect Wordpress Blog To Godaddy"
Post a Comment